microsoft word是一款十分优秀的软件,界面美观大方,功能强劲实用,使用起来简单便捷,那么word如何使流程图连接线随图形移动而移动-word使流程图连接线随图形移动而移动的操作步骤-PC下载网,小编带你一探究竟
第一步,打开word演示文稿。创建一个演示文稿并创建一张幻灯片。
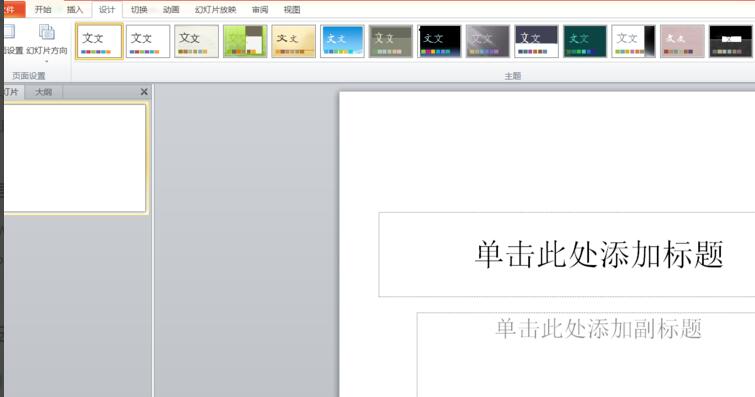
第二步,删除文本框,并且进行“页面设置”,调整高度和宽度,并且设置幻灯片为纵向。

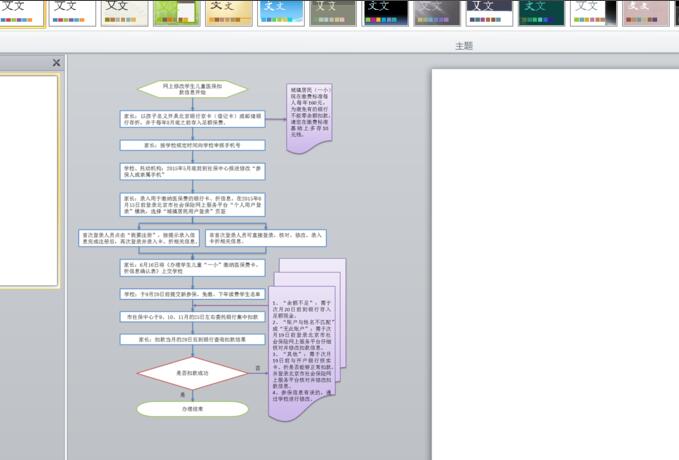
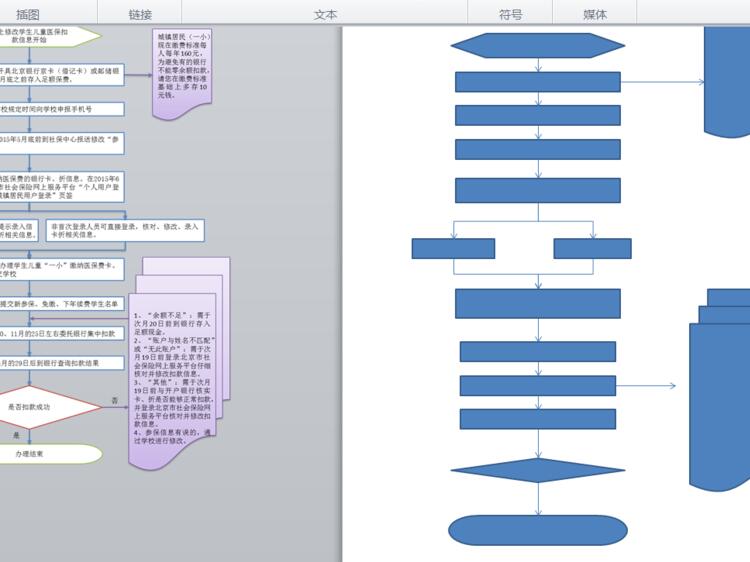
第三步,如图是我们需要制作的一个流程图。
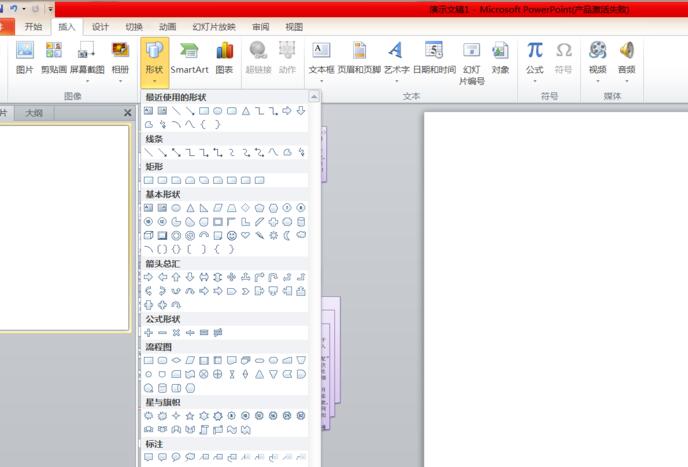
第四步,在“插入”选项中的形状选择相应形状制作流程图。
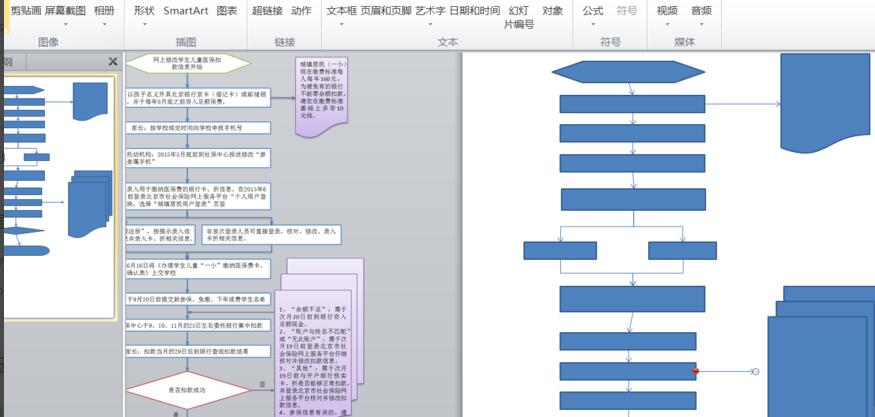
第五步,制作连接线。
第六步,效果如图。
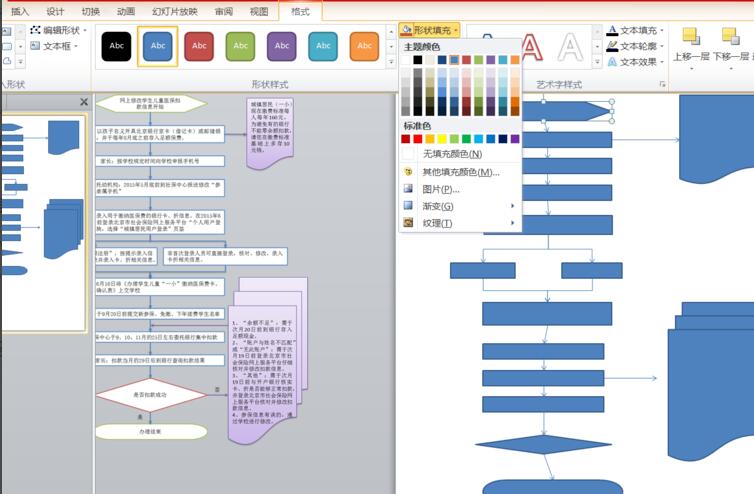
第七步,在"绘图工具"“格式”中设置形状填充为“无填充颜色”。
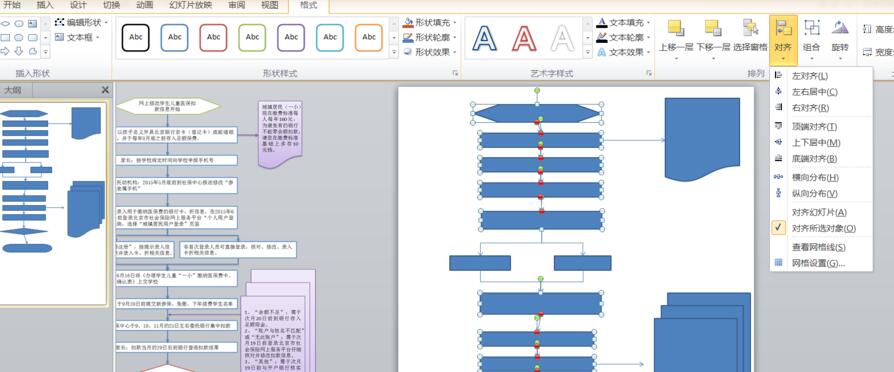
第八步,再在“绘图工具”“格式”中设置“对齐”方式。
第九步,效果如图,可以看到连接线随图形移动而移动。再在每个文本框中输入内容即可。
上面就是小编为大家分享的word使流程图连接线随图形移动而移动的操作步骤,一起来学习学习吧。相信是可以帮助到一些新用户的。
以上就是小编为大家带来的word如何使流程图连接线随图形移动而移动-word使流程图连接线随图形移动而移动的操作步骤-PC下载网全部内容,希望能够帮到大家!更多内容请关注977手游网