今天小编为大家整理带来photoshop水中月影插画的绘制步骤-手绘水中映月的风景插画的图文教程,相信对很多小伙伴们都有所帮助,更多精彩内容,多多关注本站,小编将持续为您更新!
1、新建文档,填充渐变色,
2、新建图层,用矩形工具绘制出海面,
3、新建2个图层,用钢笔工具分别画出远处的山。效果如图。
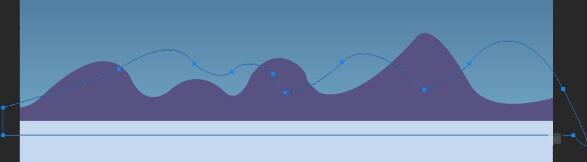
4、复制山的图层,执行变换垂直翻转,做出山的倒影,效果如图。

5、更改倒影颜色。

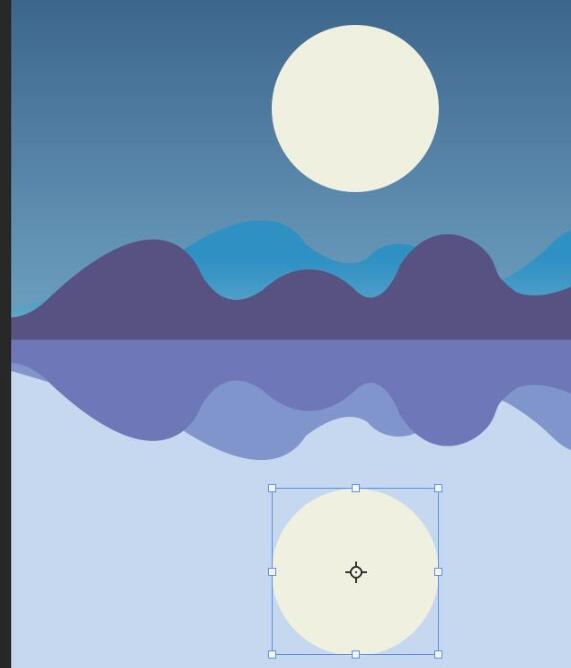
6、画出月亮。

7、复制月亮图层,拖到如图位置,形成月亮倒影。
8、对月亮图层执行滤镜模糊高斯模糊。效果如图。


9、画一颗流星。

10、调整下各个图层之间的位置、大小、颜色等,完成最终效果。


上文就是小编为您带来的PhotoShop资讯了,更多精彩资讯请多多关注游戏爱好者。
以上就是photoshop水中月影插画的绘制步骤-手绘水中映月的风景插画的图文教程全部内容了,希望对大家有帮助!更多内容请关注977手游网